
C-UM-QuarantineManagement_EN

Object: Manage Quarantined Emails
Description
This guide explains how to review and manage emails that have been automatically placed in quarantine by the security system because they were identified as potential Phishing or High-Risk Phishing threats.
Steps
- Receive a summary email every four hours from the address
[email protected]listing your quarantined messages.
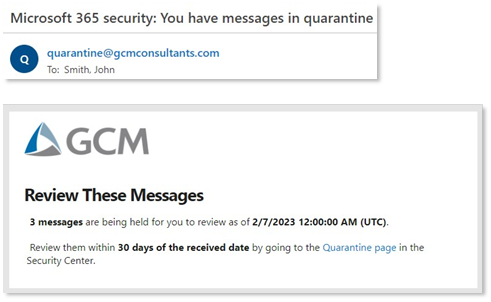
- Review the different sections in the email, which separate messages by security level (e.g., high-risk phishing).
- Read the security disclaimer included in every summary email for important safety rules.

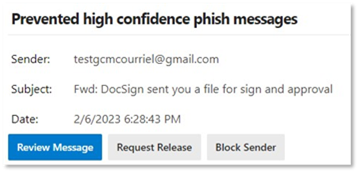
- Choose one of the four actions for each message: Review, Release, Request Release, or Block Sender.
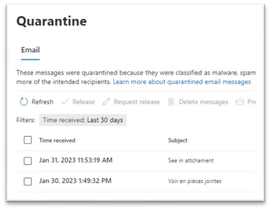
- Alternatively, access your full quarantine list at any time by visiting:
https://security.microsoft.com/quarantine. - Select an email in the quarantine portal to see the available action buttons.

Review a Message
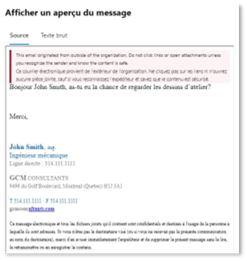
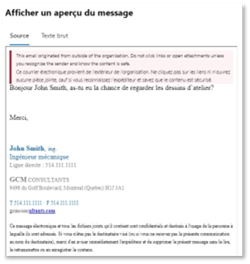
- Click the Review message button in the notification email to see a preview of the message.
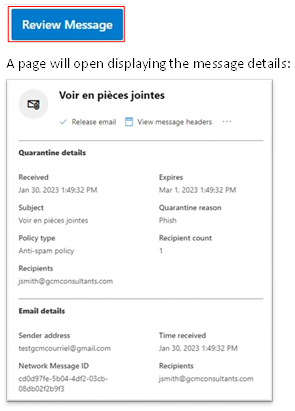
- Alternatively, to review a message from the quarantine portal, click the ... (More actions) menu for a preview.
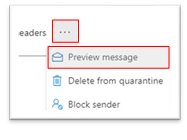
- Select the email you wish to review in the quarantine portal.
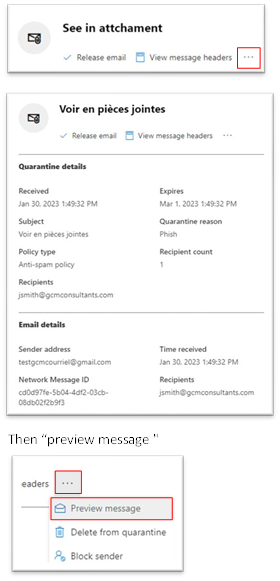
- Click the ... (More actions) menu and choose the preview option.
Release a Message
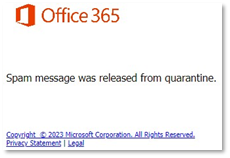
- Click the Release button in the notification email to deliver a safe message directly to your inbox.

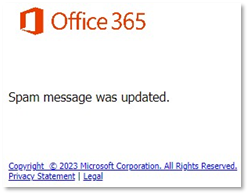
- Acknowledge the confirmation message that appears, indicating the email has been released.
- Alternatively, from the quarantine portal, select the email you want to release.
- Click the Release email button.
- Verify that the email's status changes to "Released".

Request Release for a High-Risk Message
- Click the Request Release button in the notification email for messages marked as high-risk. This sends a request to the IT department for manual verification.
- Acknowledge the confirmation message indicating your request has been submitted. The IT team is automatically notified.
- Alternatively, from the quarantine portal, select the high-risk email and click Request Release.
- Verify that the email's status changes to "Release requested". The IT team will review your request.
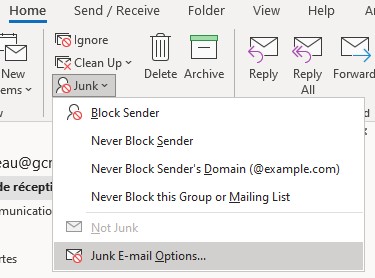
Block a Sender
- Click the Block Sender button in the notification email to prevent future emails from that address from reaching you.
- Acknowledge the confirmation that the sender has been blocked and added to your personal block list.
- Alternatively, from the quarantine portal, select the email and click the ... (More actions) menu.
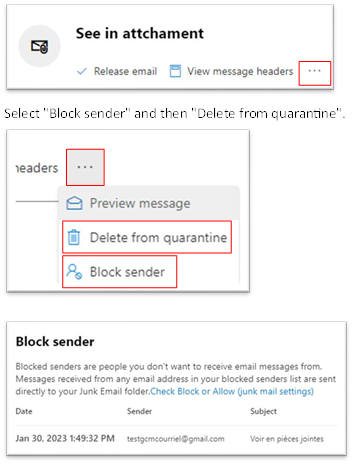
- Select Block sender and confirm by clicking Block. The sender will be added to your personal block list.

Manage Your Blocked Senders List

- Note that once a sender is blocked, you will no longer receive any notifications or quarantined emails from that address.
Notes
- Always check the sender's address carefully before releasing an email.
- Do not click on links from unknown senders. If you have any doubt, do not click the link and contact the IT helpdesk for advice.
- Releasing a message delivers it to your inbox. Only do this if you are absolutely certain the email is safe.